


Shop the best RC deals


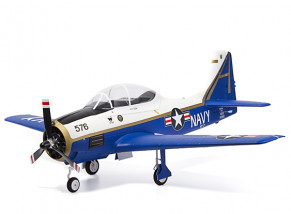
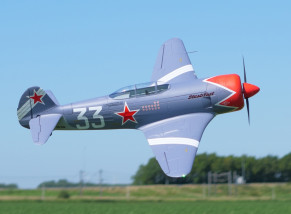
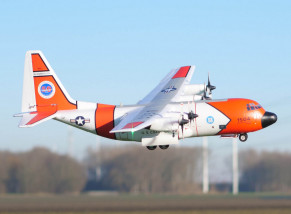
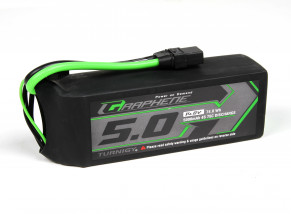
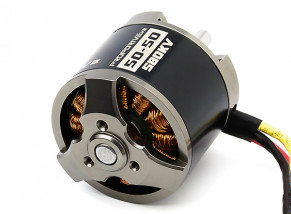
featured products
What's Hot Right Now?
Discover new, inspiring products for your hobby!


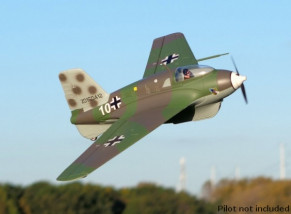
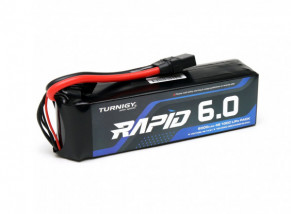


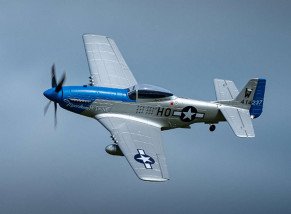
best sellers
What's Hot Right Now?
Discover new, inspiring products for your hobby!


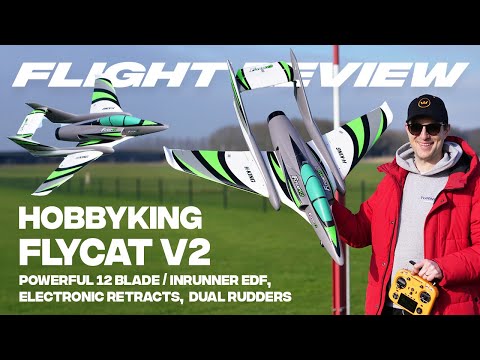
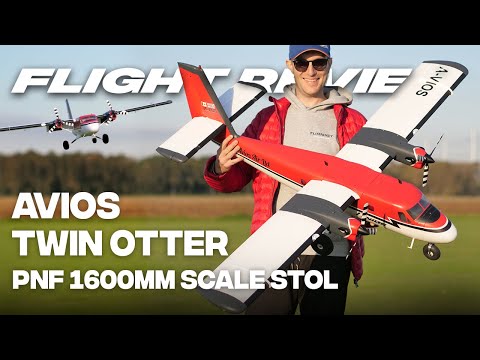
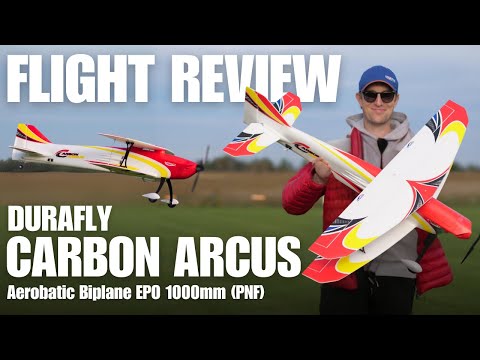
Latest Release Videos


Most Popular Categories


what is hobbyking?
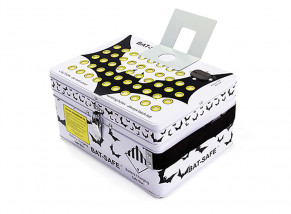
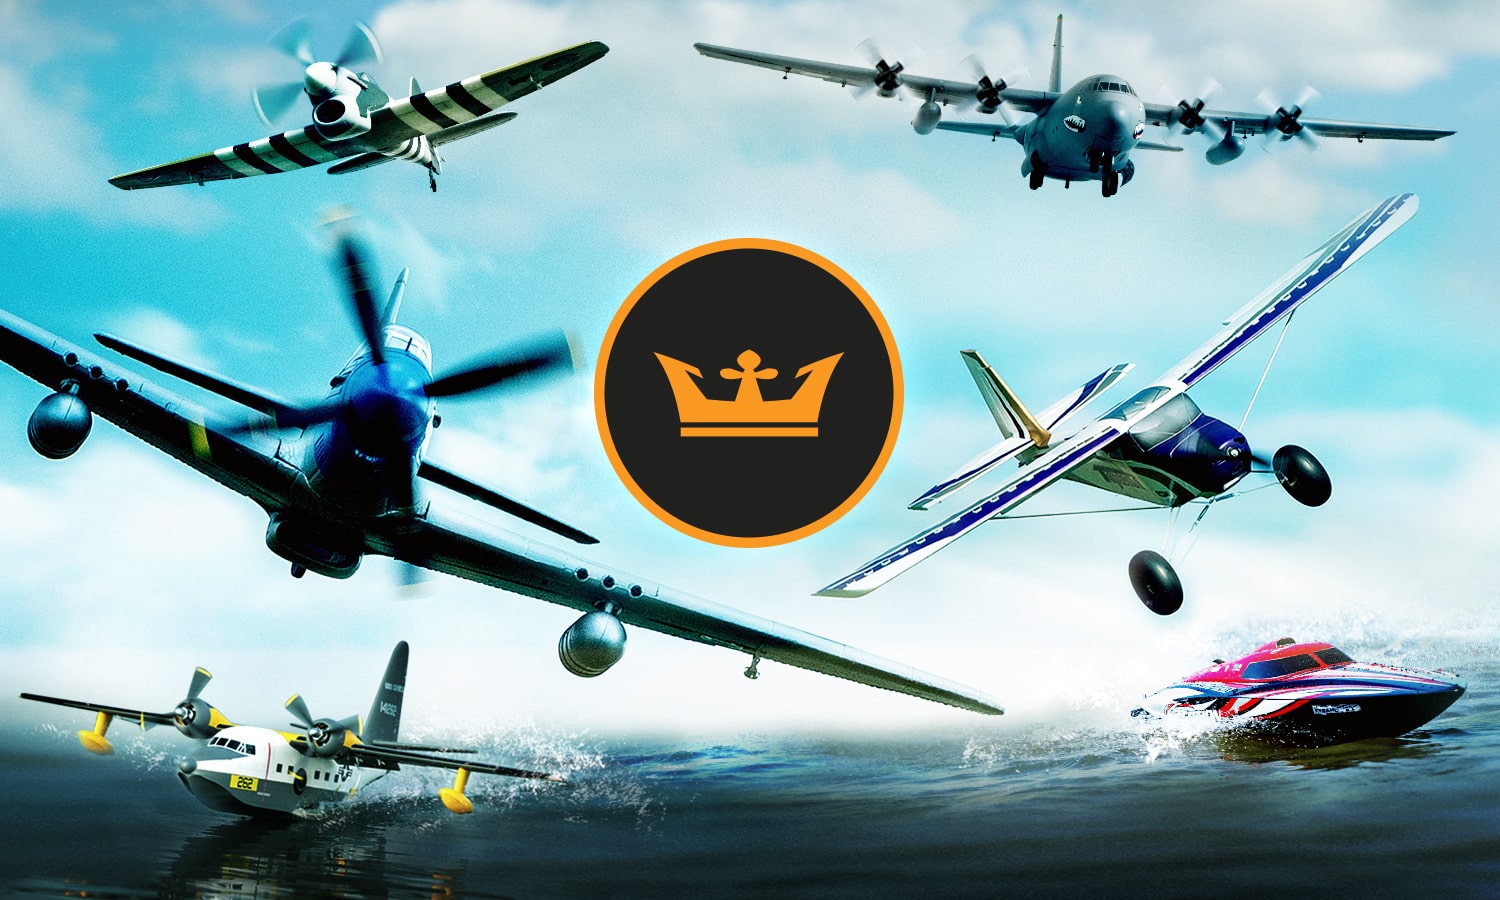 Founded in 2005, HobbyKing is one of the leading online global Radio Control (RC) hobby shops. We're also designing, manufacturing, and distributing a wide selection of proprietary RC products including RC planes, cars, and boats; right through to batteries, parts, and accessories. HobbyKing's mission is to make the RC hobby more accessible for everyone to enjoy.
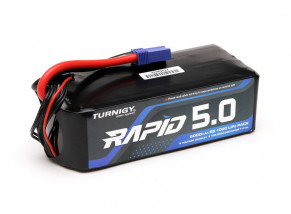
We've also developed several well-known brands including Turnigy, which is renowned for its electronics and batteries; Durafly, for quality RC airplanes; and OrangeRX, for RC radios and receivers. If you love RC products, then we're just like you!